The MicroPython project #
MicroPython is a lean and efficient implementation of the Python 3 programming language that includes a small subset of the Python standard library and is optimised to run on microcontrollers and in constrained environments.
MicroPython is packed full of advanced features such as an interactive prompt, arbitrary precision integers, closures, list comprehension, generators, exception handling and more. Yet it is compact enough to fit and run within just 256k of code space and 16k of RAM.
MicroPython aims to be as compatible with normal Python as possible to allow you to transfer code with ease from the desktop to a microcontroller or embedded system.
MicroPython on ESP32 boards #
MicroPython has been ported on various microcontrollers, including the ESP8266 and the ESP32. You can read the MicroPython glossary to better understand the MicroPython framework. You can also read the quick reference on MicroPython for ESP32.
Installation of Thonny Python IDE #
First, download and install Thonny. It is available for Windows, MacOS and Linux. We will use it to program the ESP32 and interacting with the board through MicroPython. You can watch an introductory video from https://thonny.org/.
Connecting and programming the uPesy ESP32 Wrover/Wroom boards #
Connect the uPesy ESP32 Wrover/Wroom boards #
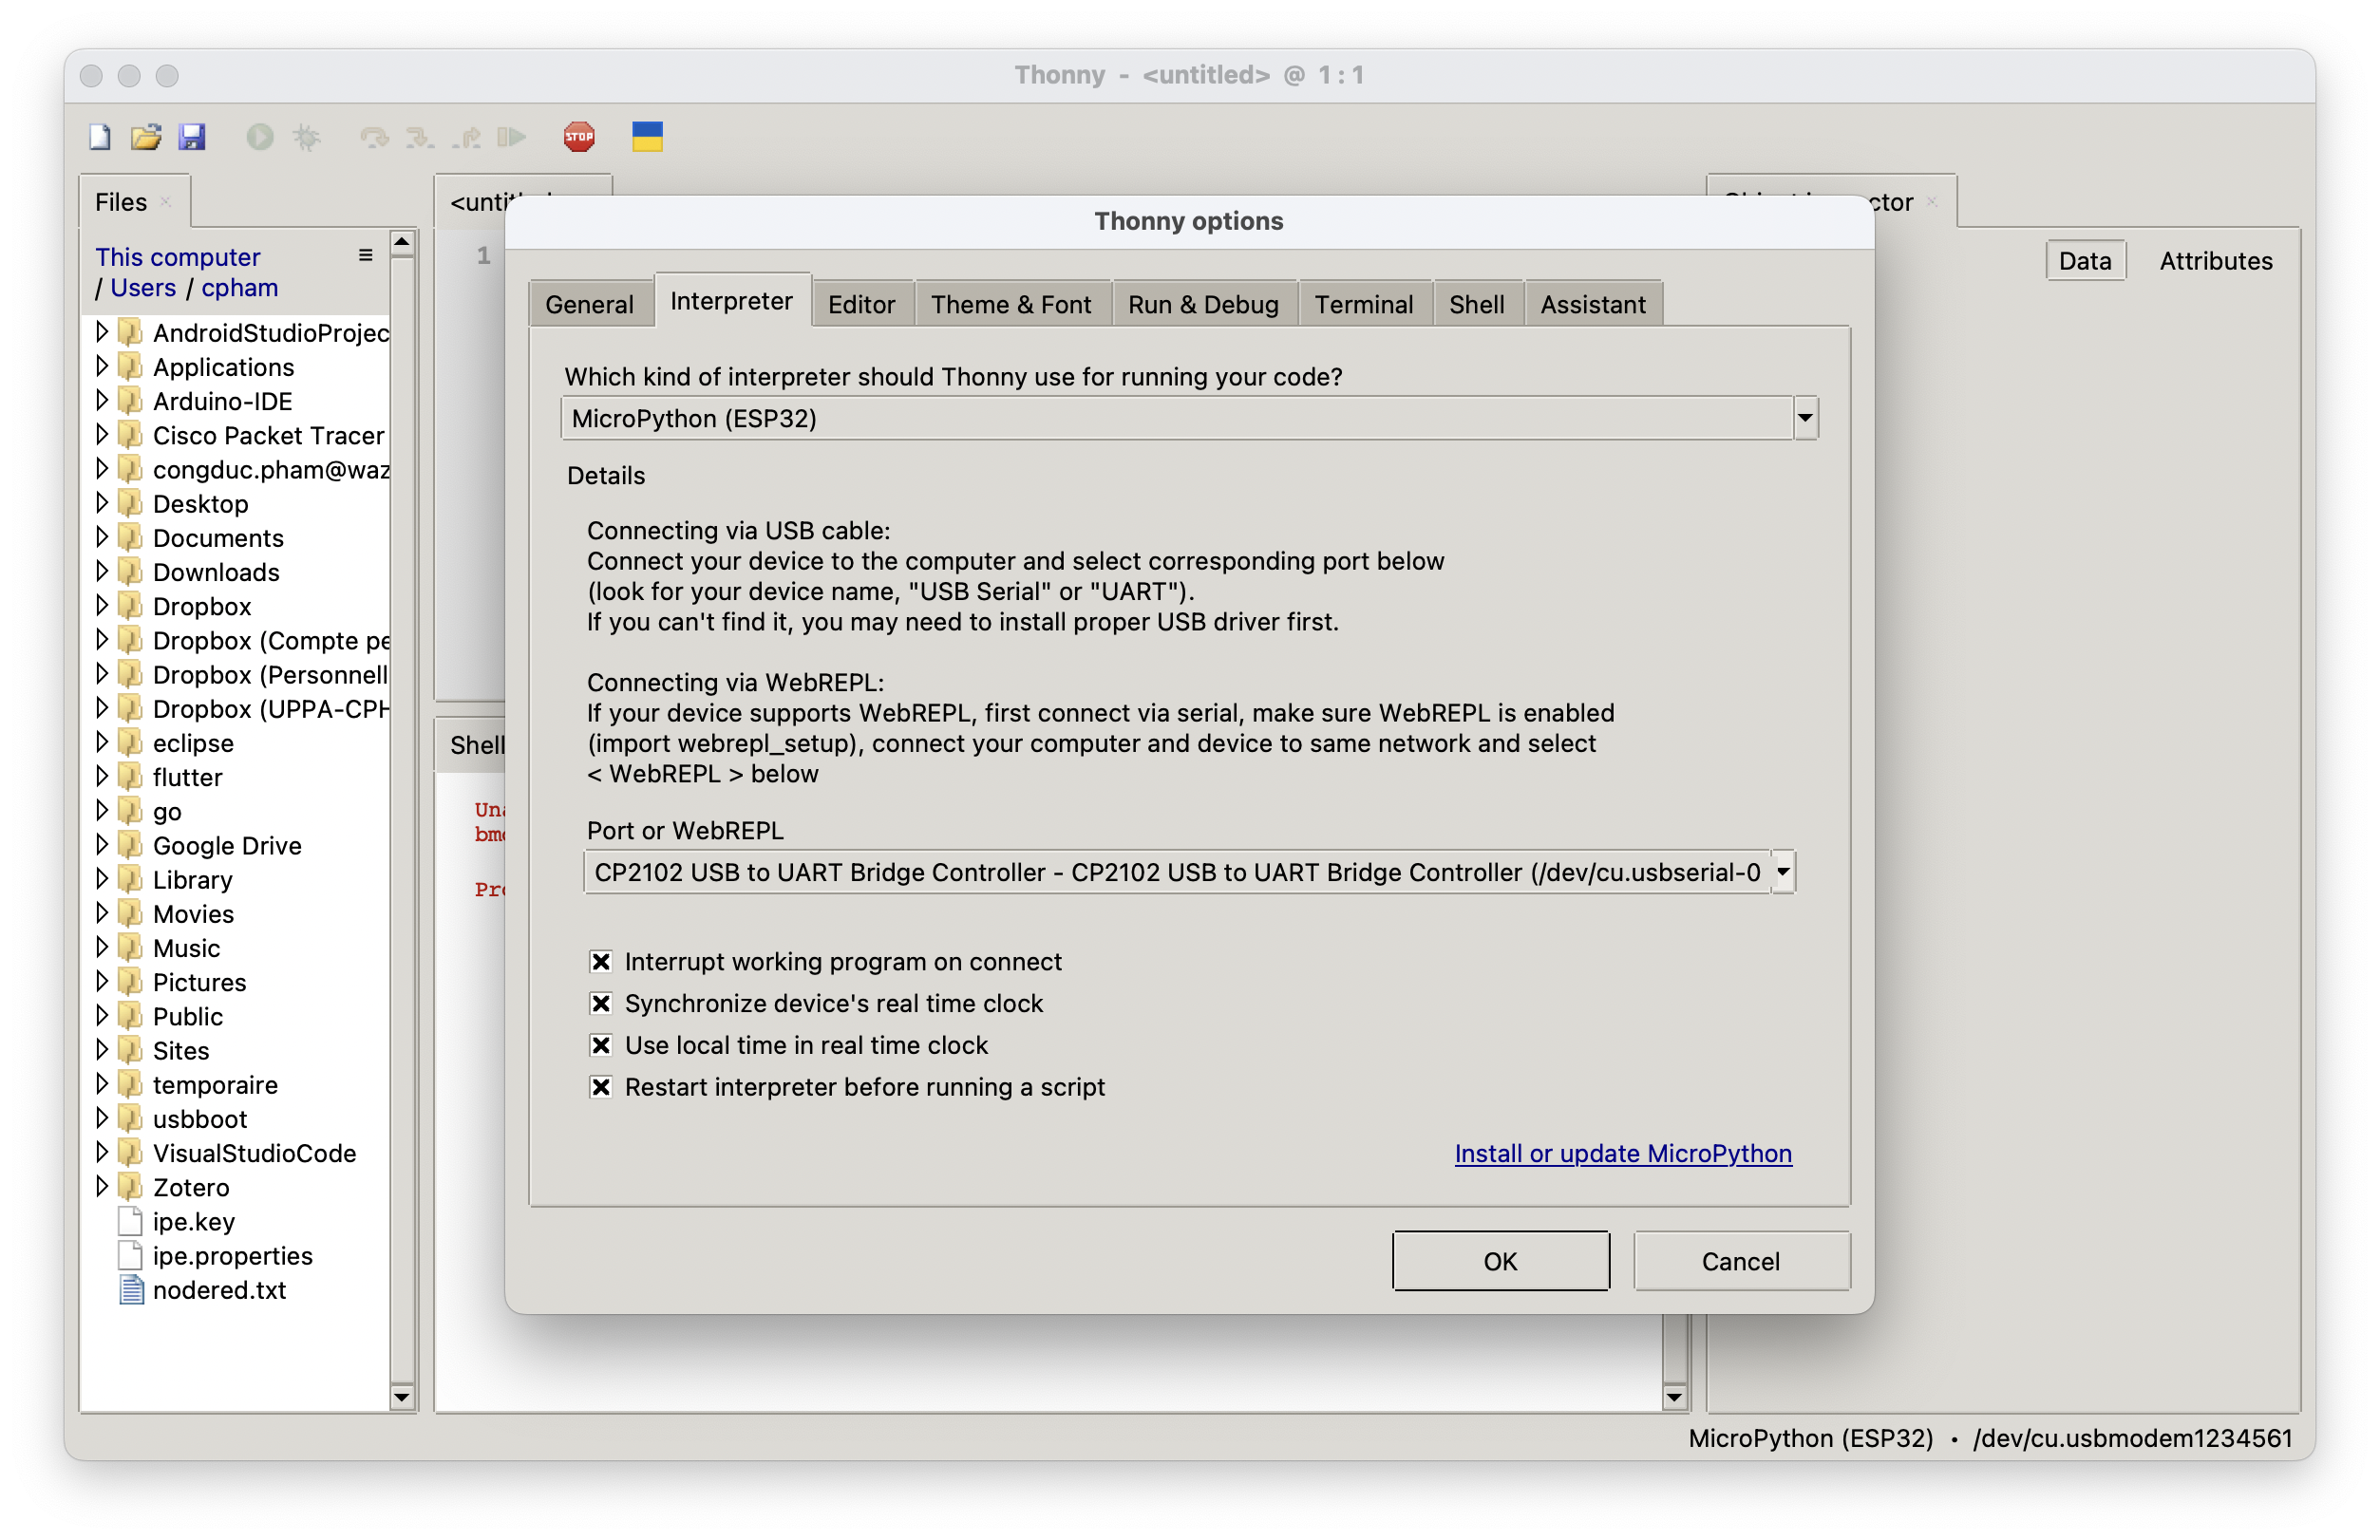
Launch Thonny and connect your ESP32 board to your laptop/computer. Go to Tools/Options/Interpreter tab to select the MicroPython (ESP32) interpreter and the serial port which will be used to communicate and program the board. The serial port name may change from one OS to another. On Linux, it is usually /dev/ttyUSB0. On MacOs, there might be 2 ports: one /dev/cu.SLAB_USBtoUART and one /dev/cu.usbserial-0001. Select the /dev/cu.usbserial-0001 one.
If you cannot find the serial port, then you may need to install the USB-to-UART driver for your ESP32 board. Read this page then refer to this page to find which driver you may need. Note that recent ESP32 chips have already built-in USB so don’t even need USB-to-UART and should be seen by your laptop/computer as a USB device.
Flash the latest MicroPython firmware #
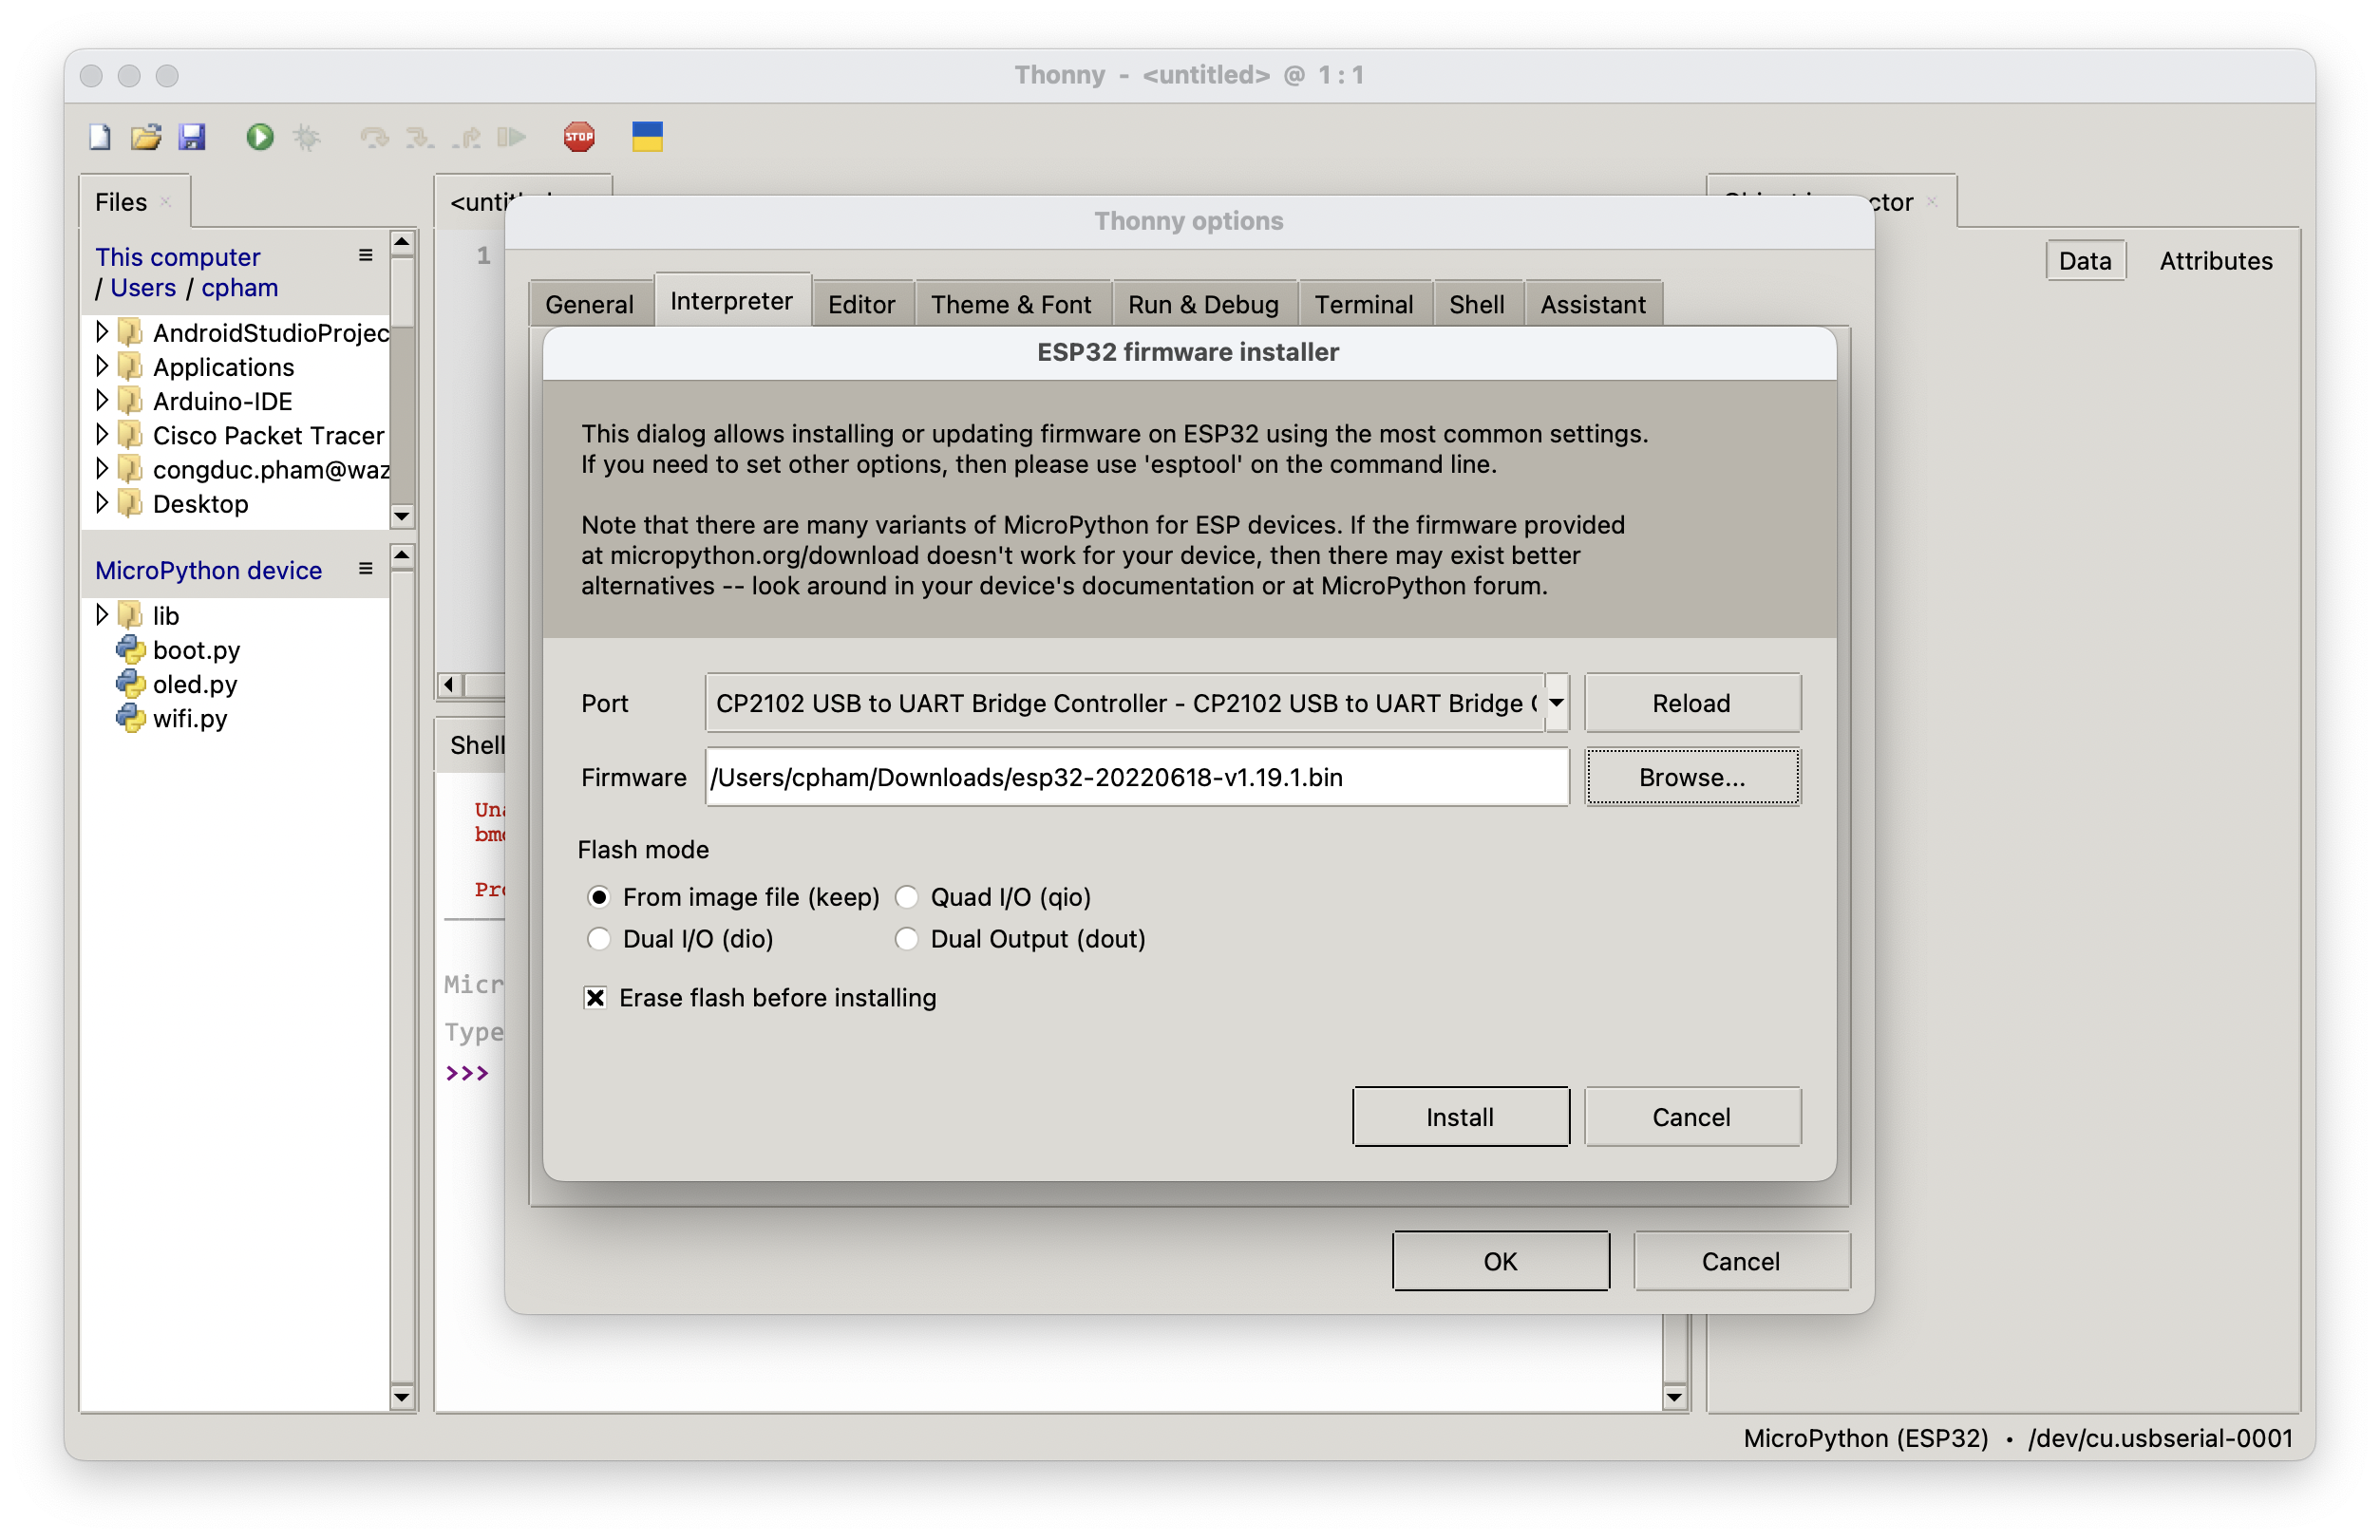
When your ESP32 has no MicroPython support, which is the case when you programmed it with Arduino IDE, you need to install the MicroPython firmware. Stay on the same Tools/Options/Interpreter tab and select Install or update MicroPython to flash the MicroPython to the ESP32 board.
Of course, you need to download the firmware first. To download the latest version of MicroPython firmware for the ESP32, go to the
MicroPython Downloads page and use the filter by to select Port for esp32. Then select ESP32/WROOM Expressif to get the latest MicroPython firmware in .bin format. Put the downloaded MicroPython firmware, for instance ESP32_GENERIC-20231005-v1.21.0.bin, on your desktop.
Then, in the Install or update MicroPython window, select the serial port and select the downloaded firmware to be flashed to the ESP32 board.
If there is a message indicating that esptool is not installed, then you need to install it as follows:
- go to
Tools/Manage plug-ins... - enter
esptoolthen click onSearch on PyPI - you should see
esptooland you can click onInstall - after installation, you need to start Thonny again
- then try to flash the downloaded MicroPython firmware
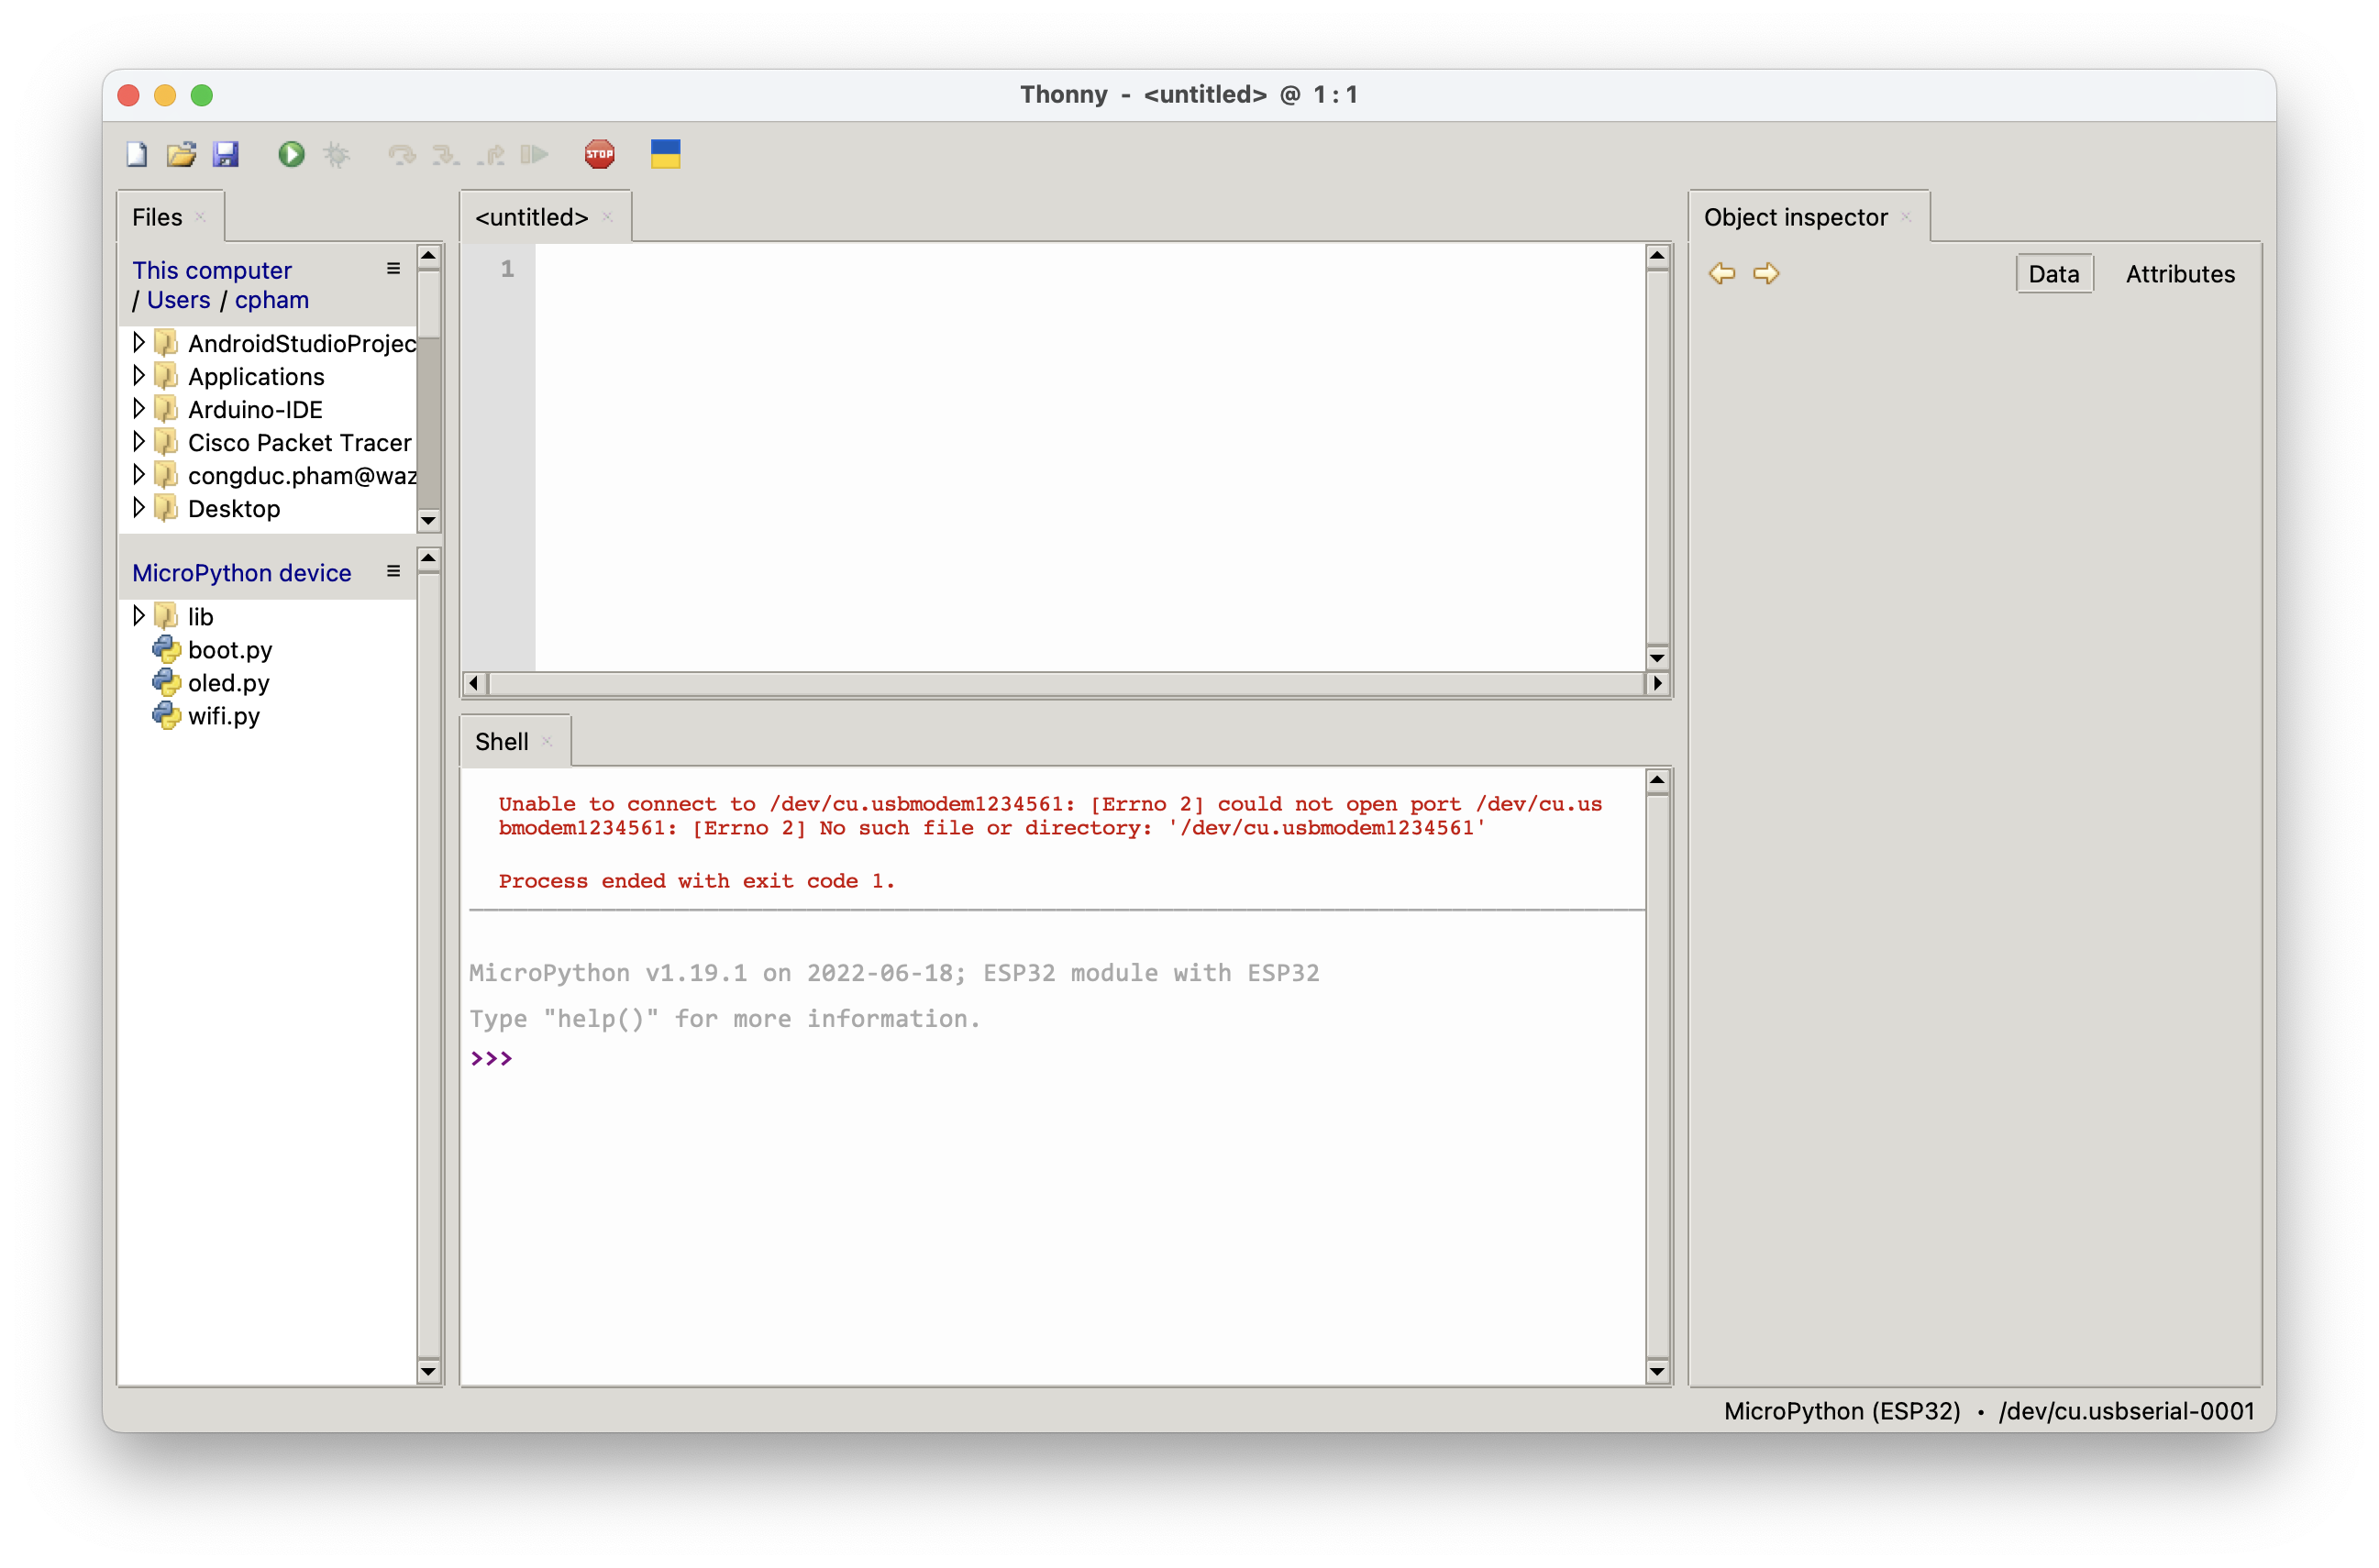
After flashing, if it is successful, you should see in the main Thonny IDE the interactive Python shell windows indicating that MicroPython is running from your ESP32. It is the so-called REPL mode (REPL stands for Read Evaluate Print Loop) using serial connection at baudrate 115200.
First commmand #
The first command you can use is the help()command. MicroPython has extensive built-in help information. As you can see, one of the first information is how to connect to a WiFi network!
>>> help()
Welcome to MicroPython on the ESP32!

For generic online docs please visit http://docs.micropython.org/

For access to the hardware use the 'machine' module:

import machine
pin12 = machine.Pin(12, machine.Pin.OUT)
pin12.value(1)
pin13 = machine.Pin(13, machine.Pin.IN, machine.Pin.PULL_UP)
print(pin13.value())
i2c = machine.I2C(scl=machine.Pin(21), sda=machine.Pin(22))
i2c.scan()
i2c.writeto(addr, b'1234')
i2c.readfrom(addr, 4)

Basic WiFi configuration:

import network
sta_if = network.WLAN(network.STA_IF); sta_if.active(True)
sta_if.scan()                             # Scan for available access points
sta_if.connect("<AP_name>", "<password>") # Connect to an AP
sta_if.isconnected()                      # Check for successful connection

Control commands:
  CTRL-A        -- on a blank line, enter raw REPL mode
  CTRL-B        -- on a blank line, enter normal REPL mode
  CTRL-C        -- interrupt a running program
  CTRL-D        -- on a blank line, do a soft reset of the board
  CTRL-E        -- on a blank line, enter paste mode

For further help on a specific object, type help(obj)
For a list of available modules, type help('modules')
>>>
You can issue help('modules') to display all installed modules in the MicroPython firmware.
>>> help('modules')
__main__          gc                ubluetooth        upysh
_boot             inisetup          ucollections      urandom
_onewire          math              ucryptolib        ure
_thread           micropython       uctypes           urequests
_uasyncio         neopixel          uerrno            uselect
_webrepl          network           uhashlib          usocket
apa106            ntptime           uheapq            ussl
btree             onewire           uio               ustruct
builtins          uarray            ujson             usys
cmath             uasyncio/__init__ umachine          utime
dht               uasyncio/core     umqtt/robust      utimeq
ds18x20           uasyncio/event    umqtt/simple      uwebsocket
esp               uasyncio/funcs    uos               uzlib
esp32             uasyncio/lock     upip              webrepl
flashbdev         uasyncio/stream   upip_utarfile     webrepl_setup
framebuf          ubinascii         uplatform         websocket_helper
Plus any modules on the filesystem
>>>
More info #
You can also read the following article on Getting Started with Thonny MicroPython (Python) IDE for ESP32 and ESP8266 from https://randomnerdtutorials.com/.
Connecting to WiFi #
The first nice and useful thing we are going to do is to make the ESP32 connect to a WiFi network. You can copy/paste the following MicroPython code into the Thonny editor window (normally showing untitled if you didn’t do anything).
from time import sleep
import network

ssid = 'iPhoneD'
password = 'hello123'

station = network.WLAN(network.STA_IF)
station.active(False)
station.active(True)
station.scan()
station.connect(ssid, password)

print("Connecting to ", ssid)

while station.isconnected() == False:
    print('.', end = " ")
    sleep(1)

print('')
print(station.ifconfig())
Of course, replace the SSID and password by those defined for a WiFi network advertised by your smartphone for instance.
Then run the code by hitting the Run current script button. You should see in the shell window the following output.
>>> %Run -c $EDITOR_CONTENT
	Connecting to  iPhoneD
	. . . . .
	('192.168.0.25', '255.255.255.0', '192.168.0.254', '192.168.0.254')
>>>
Then, if you type in the interactive shell station.ifconfig() and station.isconnected() you will get:
>>> station.ifconfig()
('192.168.0.25', '255.255.255.0', '192.168.0.254', '192.168.0.254')
>>> station.isconnected()
True
>>>
Your ESP32 is now connected to Internet!
You can save this script on the ESP32 board by selecting MicroPython device when Thonny is asking for Where to save to?. Name it wifi.py. Then you can also save it on your laptop/computer.
Install a new library #
MicroPython comes with the mip package installer. Here we will use it to install the library required to drive the Heltec WiFi LoRa board’s small OLED screen.
>>> import mip
>>> mip.install("ssd1306")
	Installing ssd1306 (latest) from https://micropython.org/pi/v2 to /lib
	Copying: /lib/ssd1306.mpy
	Done
>>>
On less recent MicroPython firmware, upip may be installed instead of mip.
>>> import upip
>>> upip.install("micropython-ssd1306")
	Installing to: /lib/
	Warning: micropython.org SSL certificate is not validated
	Installing micropython-ssd1306 0.3 from https://files.pythonhosted.org/packages/01/d0/
	0841d47772962c80af3ab178ef062ed2cd524cb99eb38463e669428402a8/micropython-ssd1306-0.3.t
	ar.gz
>>>
You should see in the MicroPython device file view a new /lib folder with the ssd1306.py library.
Using an OLED screen on the uPesy ESP32 Wrover/Wroom boards #
On the uPesy ESP32 Wrover/Wroom boards, you can connect an external OLED screen as follows:
OLED GND -> GND
OLED VCC -> 3.3v
OLED SDA -> pin 21
OLED SCL -> pin 22
Now that we have the ssd1306.py library for the OLED, we are going to display some text. Create a new untitled file and copy/paste the following MicroPython code into the Thonny editor window.
import machine
#if you want to power the OLED with a pin for dynamic control
#pin16 = machine.Pin(16, machine.Pin.OUT)
#pin16.value(1)
import ssd1306
#on the uPesy ESP32 Wrover/Wroom boards
#assign scl with pin 22 and sda with pin 21
i2c = machine.SoftI2C(scl=machine.Pin(15), sda=machine.Pin(4))
oled = ssd1306.SSD1306_I2C(128, 64, i2c)
oled.fill(0)
oled.text('From MicroPython', 0, 0)
oled.text('Hello World', 0, 8)
oled.show()
Then run the code by hitting the Run current script button. You should see the output on the OLED screen.
You can interactively use oled.poweroff() to switch off the OLED screen and oled.poweron() to bring back the text.
You can also interactively write new text with oled.text() and remember to issue oled.show() as display is buffered.
You can save this script on the ESP32 board by selecting MicroPython device when Thonny is asking for Where to save to?. Name it oled.py.
By now, you should have Thonny displaying something similar to the screen below, where you can notice the /lib folder and the boot.py, oled.py and wifi.py files.

Run program at boot #
So far, you interacted with the ESP32 with the Thonny shell. We will now define what we want to run at boot.
boot.py and main.py are the programs that will be run at boot for MicroPython. boot.py is already provided by default, main.py may not exist. It is usually accepted that boot.py should make import statements (that will be globally available) and do some global configuration tasks whereas main.py should contain the “main” program. So first, let’s add the following lines to the default boot.py.
# This file is executed on every boot (including wake-boot from deepsleep)
#import esp
#esp.osdebug(None)
#import webrepl
#webrepl.start()
import machine
from machine import Pin
import ssd1306
Save the script and create a new untitled file then copy/paste the following MicroPython code into the Thonny editor window.
import wifi

#if you want to power the OLED with a pin for dynamic control
#pin16 = Pin(16, Pin.OUT)
#pin16.value(1)

try:
    #on the uPesy ESP32 Wrover/Wroom boards
    #assign scl with pin 22 and sda with pin 21
    i2c = machine.SoftI2C(scl=Pin(15), sda=Pin(4))
    oled = ssd1306.SSD1306_I2C(128, 64, i2c)
    oled.fill(0)
    oled.text('From MicroPython', 0, 0)
    oled.text('Hello World', 0, 8)
    oled.show()
    if wifi.station.isconnected() == True:
        oled.text('Connected', 0, 16)
        oled.text(wifi.station.ifconfig()[0], 0, 24)
        oled.show()
except OSError as er:
     print('i2c error')

def display_oled(m, x, y, erase_first):
    m = str(m) #make sure it is string in utf-8
    try:
        if erase_first==1:
            oled.fill(0)
        oled.text(m, x, y)
        oled.show()
    except OSError as er:
        print('i2c error')

def welcome_msg():
    display_oled('From MicroPython', 0, 0, 1)
    display_oled('Hello World', 0, 8, 0)
    if wifi.station.isconnected() == True:
        display_oled('Connected', 0, 16, 0)
        display_oled(wifi.station.ifconfig()[0], 0, 24, 0)

if __name__ == '__main__':
    welcome_msg()
Save the script as main.py. Then disconnect the ESP32 board and reconnect it. Normally, it should connect to the WiFi and display the expected output on the OLED screen on boot.
Assignment 1: improve the program #
Improve the wifi.py and the main.py program to:
- detect and handle when the WiFi is still not available after a given number of retries
- display on the OLED the connected WiFi SSID
- structure the WiFi and OLED features into libraries
- …
Assignment 2: port the Arduino MQTT example with MicroPython #
BEFORE DOING THIS ASSIGNMENT, you should do the MQTT example with the Heltec ESP32 board in Arduino programming mode. Then, go back here to search the web and reproduce with MicroPython what you did on MQTT with Arduino programming.
Assignment 3: understand the MicroPython file system #
Search on the web to understand the MicroPython file system and to write to files on the MicroPython file system.
Assignment 4: create a web server on the ESP32 #
Search on the web to create a web server on an ESP32 board. To have more memory, we can use the uPesy ESP32 Wrover board. Test it with your smartphone for instance.
Rollback from MicroPython to Arduino on ESP32 #
IMPORTANT: DO NOT ROLLBACK THE uPesy ESP32 Wrover/Wroom. Follows these instructions to rollback a from MicroPython to Arduino IDE programming.
Links & further reading #
- MicroPython doc
- Quick reference on MicroPython for ESP32
- Plenty tutorials on the ESP32from https://randomnerdtutorials.com/
Enjoy!
2023 - Congduc Pham – Acknowledgment: Thanks to Franck Sauvé for introducing MicroPython to me and showing all the incredible things he did with MicroPython. All these discussions convinced me to add this MicroPython section.