ESP8266/ESP32 #
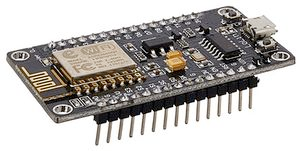
The ESP8266 is a low-cost Wi-Fi microchip with full TCP/IP stack and microcontroller capability produced by Shanghai-based Chinese manufacturer Espressif Systems [source: https://en.wikipedia.org/wiki/ESP8266]. The chip is usually embedded on a board such as the NodeMCU (see picture below) to make it easier to use. Most of ESP8266-based boards are compatible with Arduino IDE provided that you install the required addons.
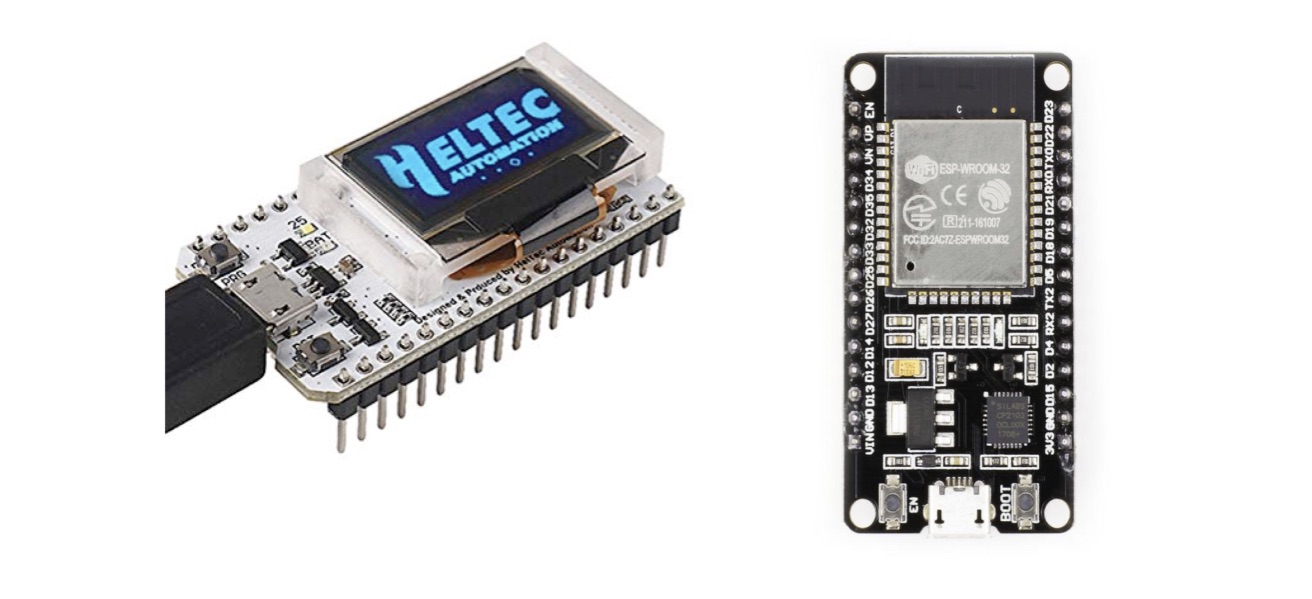
The successor to these microcontroller chips is the ESP32. Again, many boards based on the ESP32 are available. Below are the Heltec WiFi LoRa 32 with a small embedded OLED screen, the more common Node-MCU based on ESP32-WROOM and the nice uPesy ESP32 Wrover based on the ESP32-WROVER-B which have a larger amount of memory.

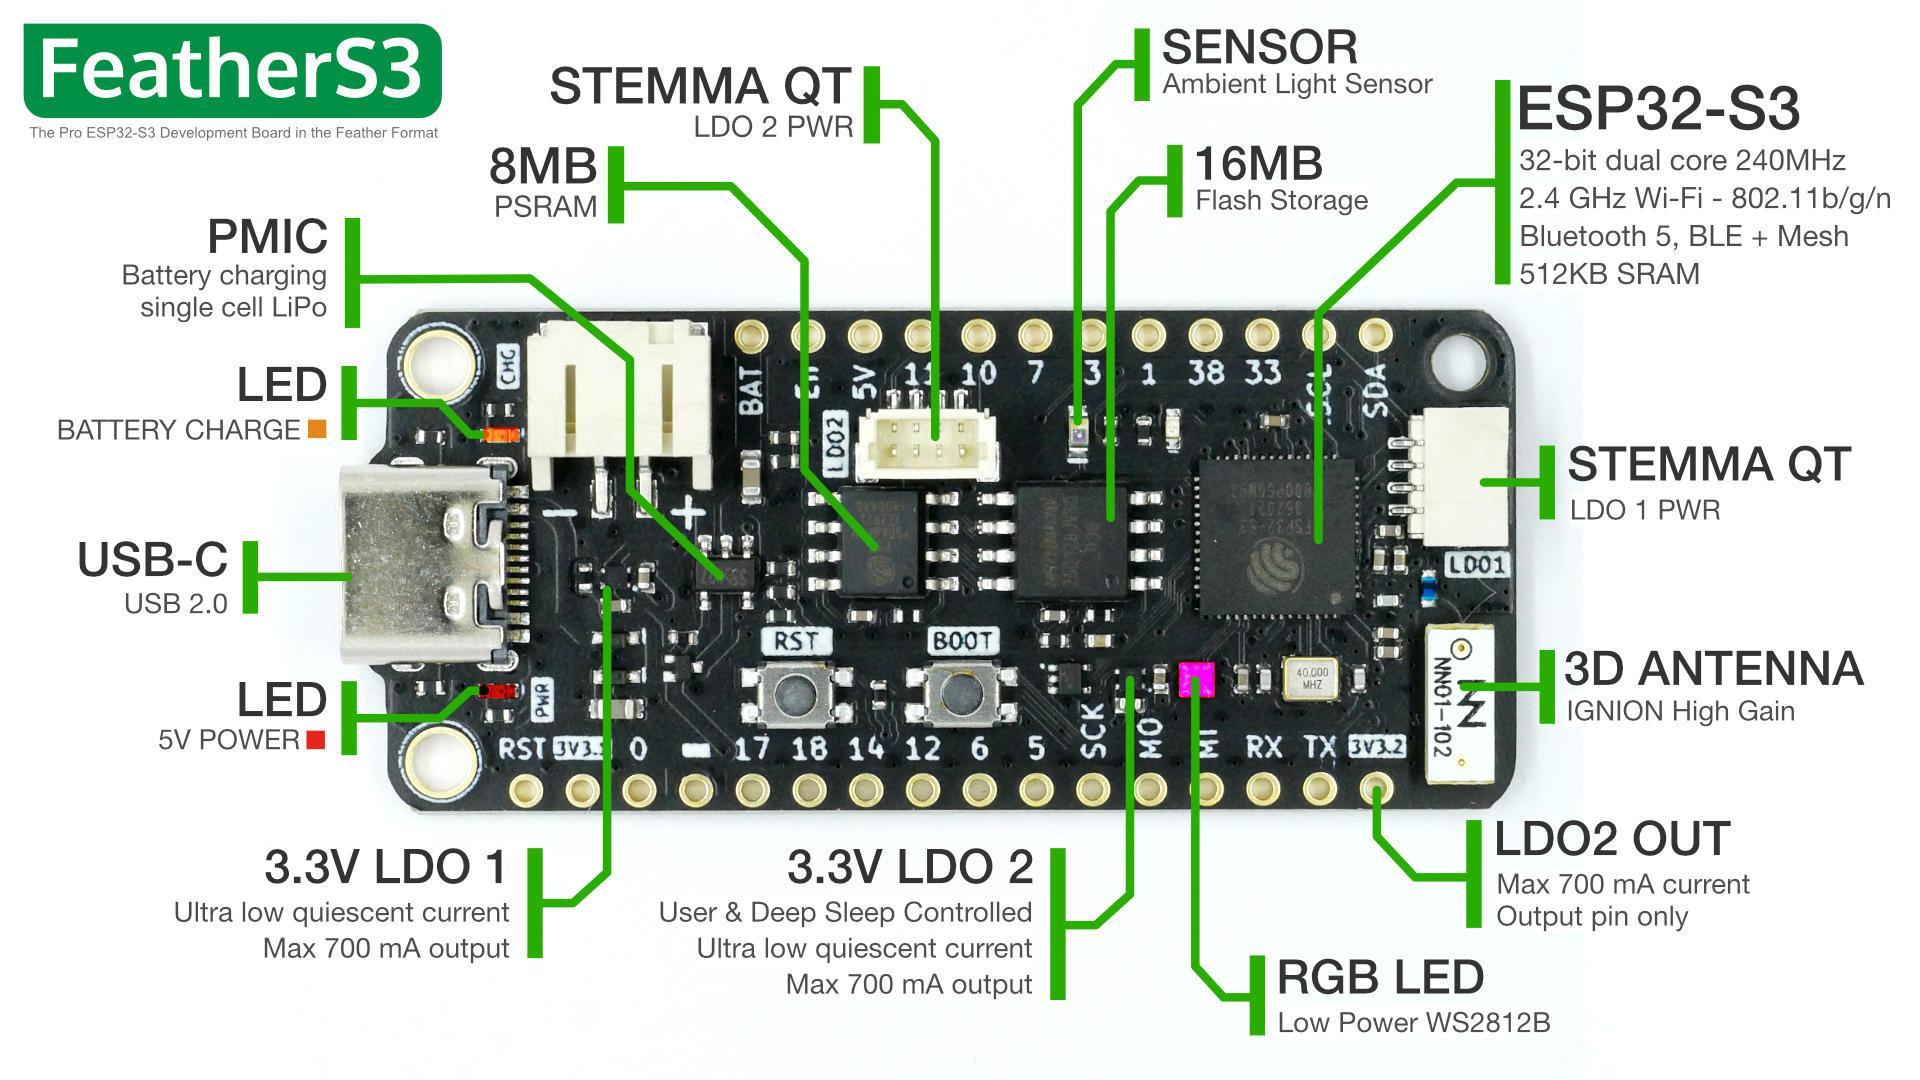
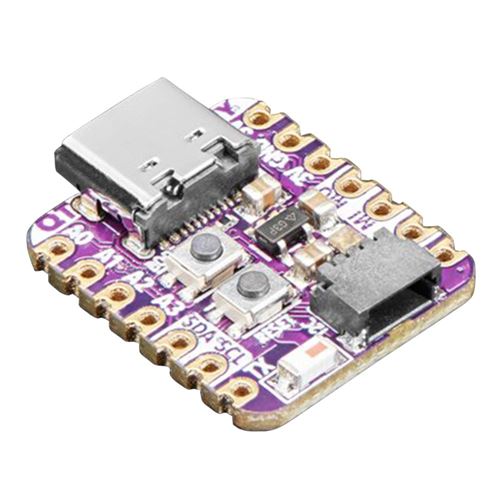
First ESP32 was released in Sep. 2016. New ESP32 versions have been released since. You can look at all the ESP32 versions released by Expressif. Most recent ESP32 chips are ESP32-S2, ESP32-S3, ESP32-C3 and ESP32-C6, used by a large number of boards to propose high-end versatile microcontroller boards for a wide variety to applications. Latest ESP32-C3 & ESP32-C6 also adopt the RISC-V architecture. Below are illustrated the FeatherS3 (ESP32-S3) from Unexpected Maker and the QT Py (ESP32-C3) from Adafruit.
You can find lots of information such as latest datasheets on the Espressif official web site.
Installation instructions using Arduino IDE Boards Manager #
Starting with 1.6.4, Arduino allows installation of third-party platform packages using Boards Manager. They have packages available for Windows, Mac OS, and Linux (32 and 64 bit).
- Install the current upstream Arduino IDE at the 1.8 level or later. The current version is at the officiel Arduino web site Start Arduino and open Preferences window
- For ESP8286 enter
http://arduino.esp8266.com/stable/package_esp8266com_index.json; for generic ESP32 enterhttps://dl.espressif.com/dl/package_esp32_index.json - for the Heltec LoRa with the embedded OLED screen enter
https://github.com/Heltec-Aaron-Lee/WiFi_Kit_series/releases/download/0.0.5/package_heltec_esp32_index.jsoninto Additional Board Manager URLs field - You can add multiple URLs, one per line
- Open Boards Manager from Tools → Board menu, then search & install “ESP8266” or “ESP32” or “Heltec ESP32” platforms
- Then, select your board, ESP8266 or ESP32 or Heltec ESP32, from Tools → Board menu to compile for the correct platform
- After connecting the ESP32, select the serial port and if you don’t see the serial port in your Arduino IDE, you will need to install the CP210x USB to UART Bridge VCP Drivers
You can read the following page which has a YouTube video to see all these steps.
You can refer to GitHub page for ESP8266 for futher information on Arduino core for ESP8286 WiFi chip.
As there are many boards based on both ESP8266 or ESP32, you can refer to the following wikipedia page to identify your board.
Uploading a sensor data to an IoT cloud #
It is known that both ESP8266 and ESP32 have “bad” analog-to digital converter. So here the analog sensor is just for demonstration purpose. It is better for accuracy to get a digital sensor, such as the DHT22. You can also just assign a value to the temperature in the code without connecting any physical sensor.
Brief description of the code #
In the example below, we briefly explain setting up the WiFi and establishing the connection. If the connection is successful, we measure the temperature. The temperature value is then uploaded to a ThingSpeak channel.
We will briefly explain the steps used in the example below to use the WiFi module.
If using ESP8266, use ESP98266WiFi.h header file. In case you are using ESP32, use the WiFi.h.
#if defined ESP8266 || defined ARDUINO_ESP8266_ESP01
#include <ESP8266WiFi.h>
#else
#include <WiFi.h>
#endif
Define the network SSID and password, here for demonstration purpose, we usually use a smartphone sharing 3G/4G as WiFi access point. Note that it is not possible to use a WiFi that requires pop-up windows or a complex authentication mechanism.
char* ssid = "iPhoneD";
char* password = "hello123";
Then we define a dedicated function to setup the WiFi. setup_wifi() mainly
defines the connection to the WiFi network using the SSID and the password, and then check if the WiFi is successfully connected.
void setup_wifi() {
  WiFi.begin(ssid, password);
}
In setup(), in addition to define the input pins we mainly call setup_wifi()function to connect to WiFi.
void setup() {
  delay(3000);
  Serial.begin(38400);

  // for the temperature sensor
  pinMode(TEMP_PIN_READ, INPUT);

  // Print a start message
  Serial.println(F("Simple Temp WiFi+ThingSpeak demo"));

  setup_wifi();
}
In loop(), we first check if the WiFi is connected. If is not connected, we attempt to connect to the WiFi again.
if (WiFi.status() != WL_CONNECTED) {

    unsigned long start=millis();
    while (WiFi.status() != WL_CONNECTED && millis()-start<15000) {
        WiFi.begin(ssid, password);
     }
 }
Then, if WiFi is connected and connection to the wifi client is established, then we upload to the ThingSpeak channel using a REST API.
if (WiFi.status() == WL_CONNECTED) {

    WiFiClient client;
    HTTPClient http;

    // Your Domain name with URL path or IP address with path
    http.begin(client, server);

    // Specify content-type header
    http.addHeader("Content-Type", "application/x-www-form-urlencoded");
    // Data to send with HTTP POST
    String httpRequestData = "api_key=" + apiKey + "&field3=" + String(temp);
    // Send HTTP POST request
    int httpResponseCode = http.POST(httpRequestData);

    Serial.print("HTTP Response code: ");
    Serial.println(httpResponseCode);

    // Free resources
    http.end();
 }
Complete example #
Here is the complete working and tested example of the an Arduino board with WiFi. Data is uploaded to our LoRa demo ThingSpeak channel 66794: https://thingspeak.com/channels/66794 on field 3. Check on the channel page for the data you are uploading.
// if you have an ESP8266 based board
#define ESP8266

#if defined ESP8266 || defined ARDUINO_ESP8266_ESP01
#include <ESP8266WiFi.h>
// else if you have an ESP32
#else
#include <WiFi.h>
#endif

#include <HTTPClient.h>

// Update these with values suitable for your network.
char* ssid = "iPhoneD";
char* password = "hello123";

// Test LoRa gateway channel, channel ID 66794
String apiKey = "SGSH52UGPVAUYG3S";

// To upload on thingspeak
const char* server = "http://api.thingspeak.com/update";

#define TEMP_PIN_READ  A0 //will be pin 36 on the Heltec
#define TEMP_SCALE  5000.0

// setting up the wifi
void setup_wifi() {

  delay(10);
  // We start by connecting to a WiFi network
  Serial.println();
  Serial.print("Connecting to ");
  Serial.println(ssid);

  WiFi.begin(ssid, password);

  unsigned long start=millis();

  while (WiFi.status() != WL_CONNECTED && millis()-start<15000) {
    delay(500);
    Serial.print(".");
  }

  randomSeed(micros());

  if (WiFi.status() == WL_CONNECTED) {
      Serial.println("");
      Serial.println("WiFi connected");
      Serial.println("IP address: ");
      Serial.println(WiFi.localIP());
  }
  else {
      Serial.println("WiFi not connected");
  }
}

void setup() {
  delay(3000);
  Serial.begin(38400);

  // for the temperature sensor
  pinMode(TEMP_PIN_READ, INPUT);

  // Print a start message
  Serial.println(F("Simple Temp WiFi+ThingSpeak demo"));

  setup_wifi();
}

void loop() {

    if (WiFi.status() != WL_CONNECTED) {

        unsigned long start=millis();
        while (WiFi.status() != WL_CONNECTED && millis()-start<15000) {
          Serial.print("Attempting to connect to WPA SSID: ");
          Serial.println(ssid);
          // Connect to WPA/WPA2 network
          WiFi.begin(ssid, password);
          delay(500);
        }
    }

    if (WiFi.status() == WL_CONNECTED) {
        Serial.println("Connected to AP");
    }
    else  {
        Serial.println("WiFi not connected");
    }

    int value = analogRead(TEMP_PIN_READ);
    Serial.print(F("Reading "));
    Serial.println(value);

    float temp;

    // change here how the temperature should be computed depending on your sensor type
    temp = (value*TEMP_SCALE/1024.0)/10;

    if (isnan(temp)) {
      Serial.println("Failed to read from Temp sensor!");
    }
    else {
        Serial.print("Temperature: ");
        Serial.print(temp);
        Serial.println("Temperature: ");

      if (WiFi.status() == WL_CONNECTED) {

          WiFiClient client;
          HTTPClient http;

          // Your Domain name with URL path or IP address with path
          http.begin(client, server);

          // Specify content-type header
          http.addHeader("Content-Type", "application/x-www-form-urlencoded");
          // Data to send with HTTP POST
          String httpRequestData = "api_key=" + apiKey + "&field3=" + String(temp);
          // Send HTTP POST request
          int httpResponseCode = http.POST(httpRequestData);

          Serial.print("HTTP Response code: ");
          Serial.println(httpResponseCode);

          // Free resources
          http.end();

          Serial.println("Upload to Thingspeak");
      }
    }

    delay(10000);
 }
The code is ready for an Heltec WiFi LoRa 32 board so OLED is activated.
Enjoy!
2018 - Muhammad Ehsan, Mamour Diop & Congduc Pham